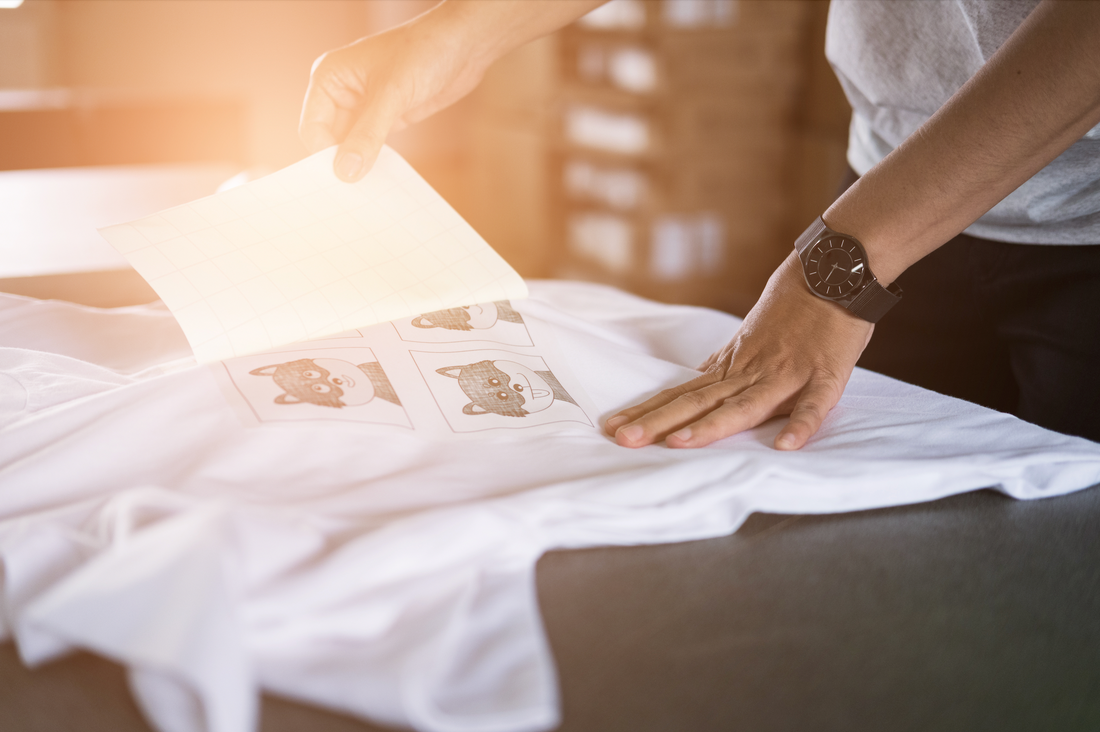
Introduction to Screen Printing
Screen printing is a versatile and popular printing technique used to create designs on various materials, such as textiles, ceramics, and paper. This article will focus on the basics of screen printing on paper, walking you through the materials and equipment needed, the process, and providing tips for successful results.
Materials and Equipment Needed for Screen Printing
Screens
The main component in screen printing is the screen itself. Screens are made from a fine mesh stretched over a wooden or metal frame. The mesh is coated with a light-sensitive emulsion, which will be used to create the design.
Inks
Screen printing inks are specially formulated for use with screens. They come in a wide variety of colors and finishes, including water-based, plastisol, and solvent-based inks. The type of ink you choose will depend on your project and the paper you're using.
Squeegees
A squeegee is a tool with a rubber blade used to push the ink through the mesh screen onto the paper. They come in various sizes and durometers (hardness levels) to accommodate different projects and inks.
Paper
The type of paper you use for screen printing is crucial, as it affects the final print quality. It's essential to choose a paper with the right weight, texture, and absorbency for the ink you're using.
Other Essential Tools
Some other tools you'll need for screen printing on paper include a light table or exposure unit, a washout booth, a drying rack, and a heat press or curing unit for drying the ink.
The Screen Printing Process
Creating the Design
First, create your design using graphic design software or hand-drawn techniques. The design should be black and white, with the black areas representing where the ink will be applied.
Preparing the Screen
Next, coat your screen with the light-sensitive emulsion and let it dry. Place your design on the screen and expose it to UV light to harden the emulsion. Then, wash out the unexposed emulsion, leaving the design on the screen.
Printing the Design
Place the paper you want to print on underneath the screen. Pour a small amount of ink onto the screen and use the squeegee to push the ink through the mesh, transferring the design to the paper.
Curing the Print
Once you've printed your design, cure the ink using a heat press or curing unit. This step ensures the ink is fully dried and won't smudge or rub off. Be sure to follow the manufacturer's recommendations for curing times and temperatures for the specific ink you're using.
Tips for Successful Screen Printing on Paper
Choose the Right Paper
Selecting the appropriate paper for your project is crucial for achieving the best results. Thicker, high-quality paper with a smooth finish is ideal for screen printing. However, it's essential to consider the type of ink you're using, as some inks may require specific paper types.
Properly Prepare Your Workspace
Having a clean, organized workspace is vital for successful screen printing. Make sure your work area is free from dust and debris that could interfere with your print. Proper ventilation is also important, especially when working with solvent-based inks.
Test and Adjust
Before printing your final design, do some test prints on scrap paper to ensure everything is working correctly. This step allows you to make any necessary adjustments to the screen, ink, and squeegee pressure before committing to your final piece.
Conclusion
Screen printing on paper is a versatile and rewarding technique that can be used to create unique, high-quality prints. By understanding the materials and equipment needed, mastering the process, and following the tips mentioned above, you'll be well on your way to successful screen printing projects.
FAQs
1. Can I screen print at home?
Yes, with the right equipment and some practice, you can screen print at home. Many starter kits are available for beginners looking to try screen printing at home.
2. How long does the screen printing process take?
The time it takes to screen print can vary depending on the complexity of the design, the number of colors used, and your experience level. Generally, it can take anywhere from a few minutes to a few hours.
3. Can I reuse screens for different designs?
Yes, screens can be reclaimed by removing the old emulsion and cleaning the mesh. Once cleaned, the screen can be recoated with emulsion and used for a new design.
4. How do I clean the screen after printing?
To clean the screen, remove any excess ink with a spatula or scraper, then use a screen wash or cleaning solution designed for the type of ink you used. Gently scrub the screen with a soft-bristle brush and rinse with water.
5. How do I prevent ink from bleeding through the paper?
Using the correct paper and ink combination is essential for preventing ink bleed. Ensure you use high-quality, thick paper and test your ink and paper combination before printing your final design.
Equipment
Unveiling the Best Screen Printing Machines for Beginners: Your Ultimate Guide
How to Choose the Right Screen Printing Press for Your Business: A Comprehensive Guide
The Ultimate Screen Printing Kit Buying Guide
Ink
A Beginner's Guide to Screen Printing Inks
Why Water-Based Screen Printing Ink is the Future
The Benefits of Using Discharge Screen Printing Ink
Screen
How to Choose the Right Screen Printing Mesh for Your Project
Everything You Need to Know About Screen Printing Frames
The Ultimate Guide to Screen Printing Emulsion
Technique
7 Essential Screen Printing Techniques for Beginners
How to Screen Print on Fabric: A Beginner's Guide
The Basics of Screen Printing on Paper
Service
Get Custom Screen Printing for Your Business or Event
Find Screen Printing Services Near You
The Best Online Screen Printing Services for Your Business
Supplies
The Essential Screen Printing Supplies You Need

